ICLight Studio offers an AI-powered photo editor focused on relighting photos, adjusting light positions, and enhancing fill-light effects. It also utilizes natural language descriptions to automatically edit and refine photos. Its simple yet intuitive features can breathe new life into photos, unlocking their true potential!
Using ICLight Relight requires no additional software downloads or installations. Simply open the webpage to access the online editor. After uploading your image, adjust various parameters including photo dimensions, light source direction, output format, and advanced settings. Notably, ICLight also processes photos using AI based on input prompts and negative prompts. Even beginners with no editing experience can quickly achieve stunning results through this tool.
This versatile editor handles diverse photo subjects—portraits, landscapes, or still life—and supports both color and black-and-white images. Its user-friendly interface makes it accessible. If you want to enhance your photos to resemble professionally lit shots, this tool is well worth trying.
Tutorial
STEP 1
After opening the ICLight Studio website, click “Start For Free” to access the editing tools. The first step is to drag and drop the image you want to edit onto the website to upload it (you can also click “Browse files” to select an image file). 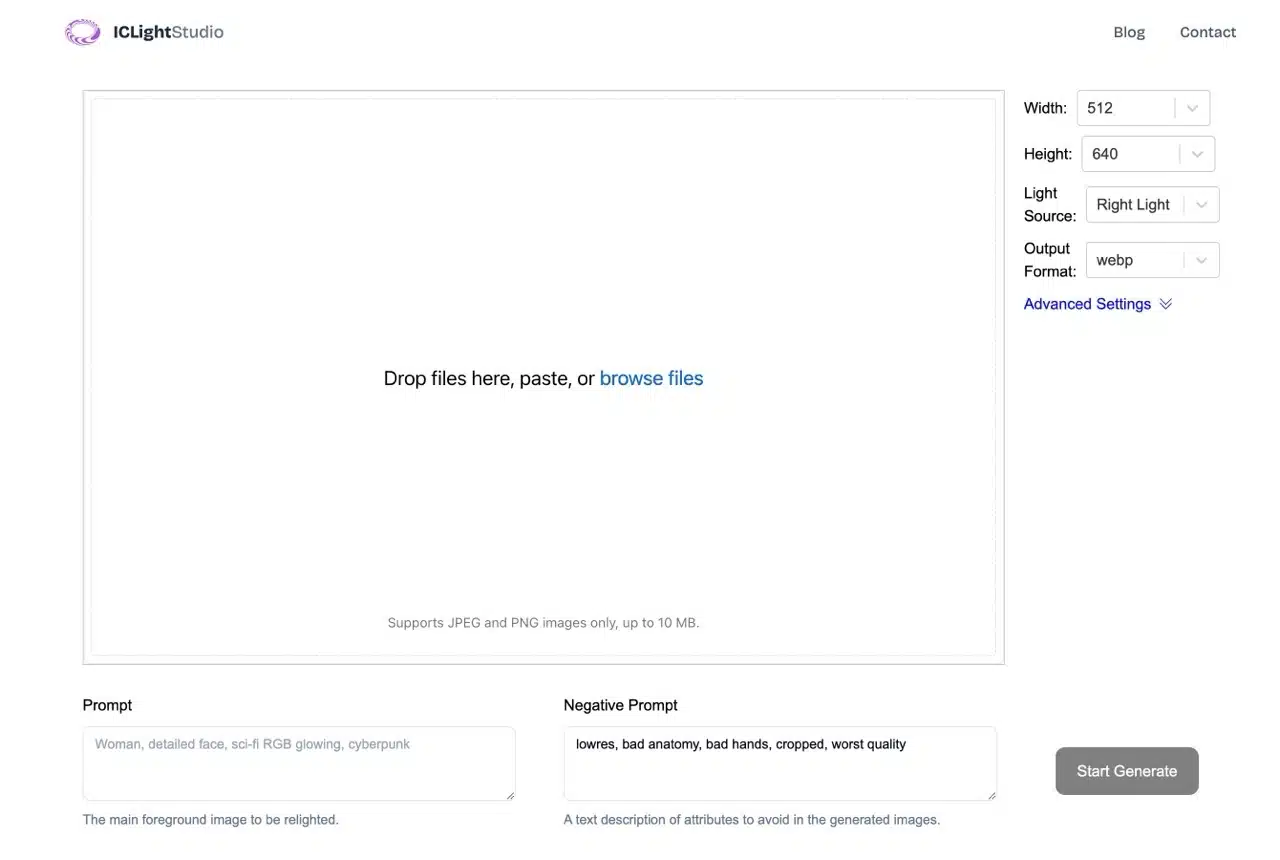 Remember to first click “Upload 1 file” in the bottom left corner to upload the file before you can begin editing.
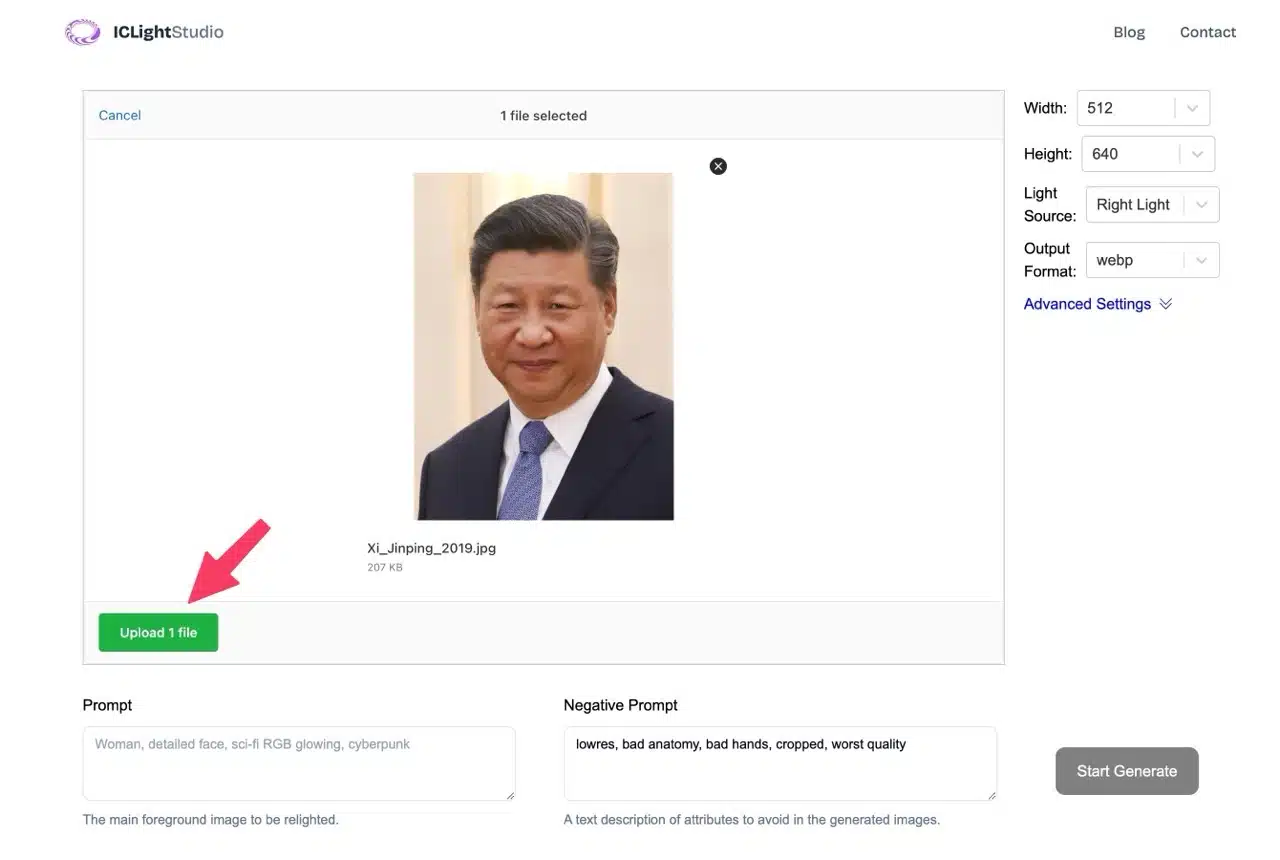
STEP 2
The right-hand editing panel includes default options for adjusting image width, height, light source direction, and output format. Clicking “Advanced Settings” unlocks additional features.
The simplest method is adjusting the light source direction under “Light Source,” which offers four options: left, right, top, and bottom.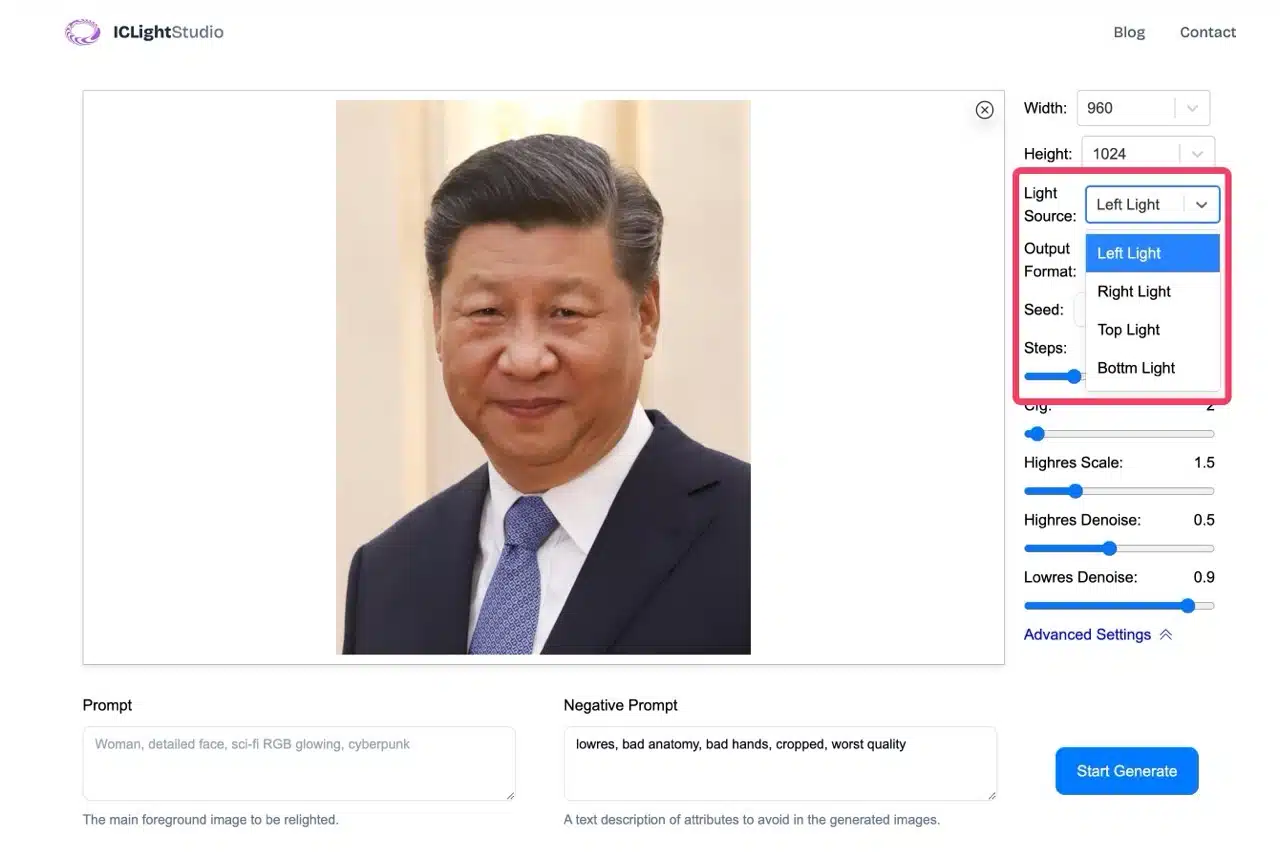
STEP 3
Under “Output Format,” you can also set the exported image format. Three options are available: WebP, PNG, and JPG.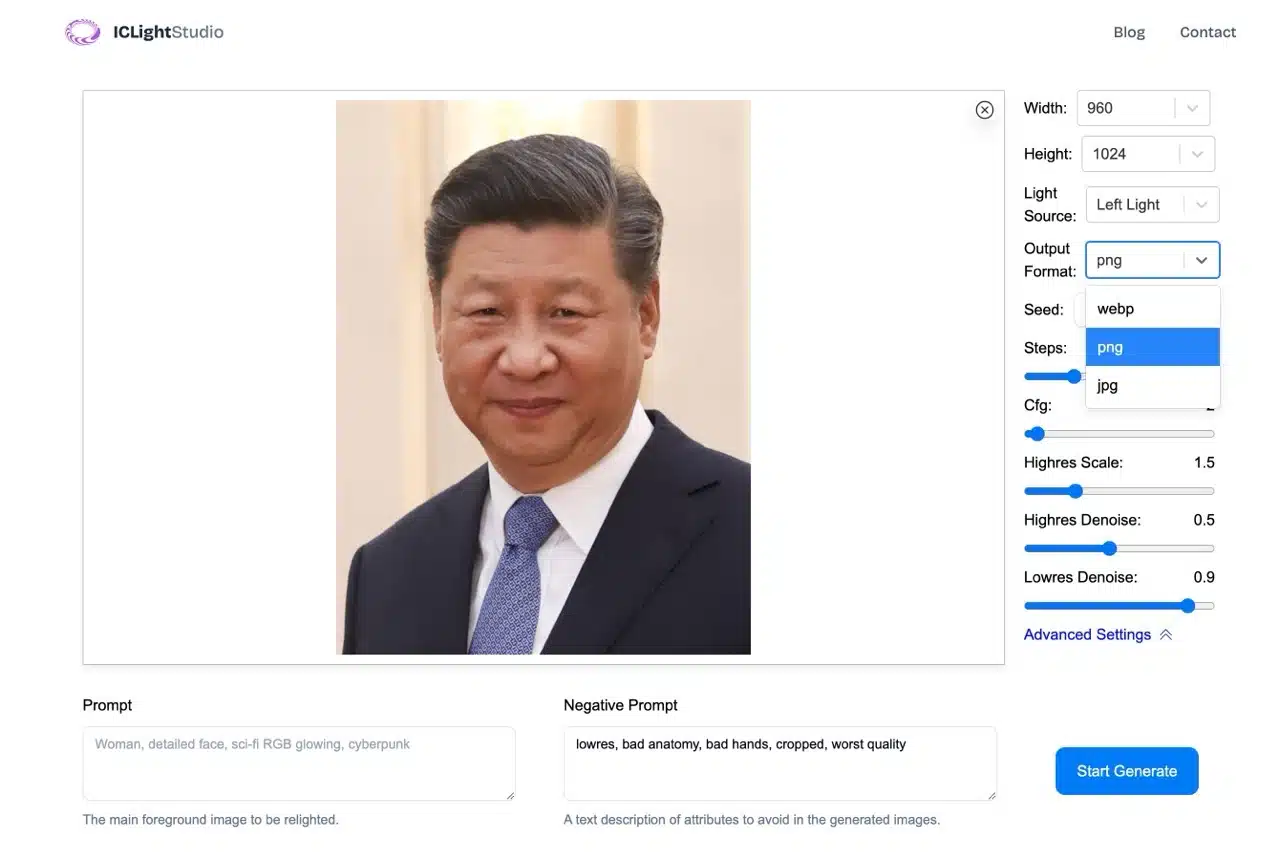
STEP 4
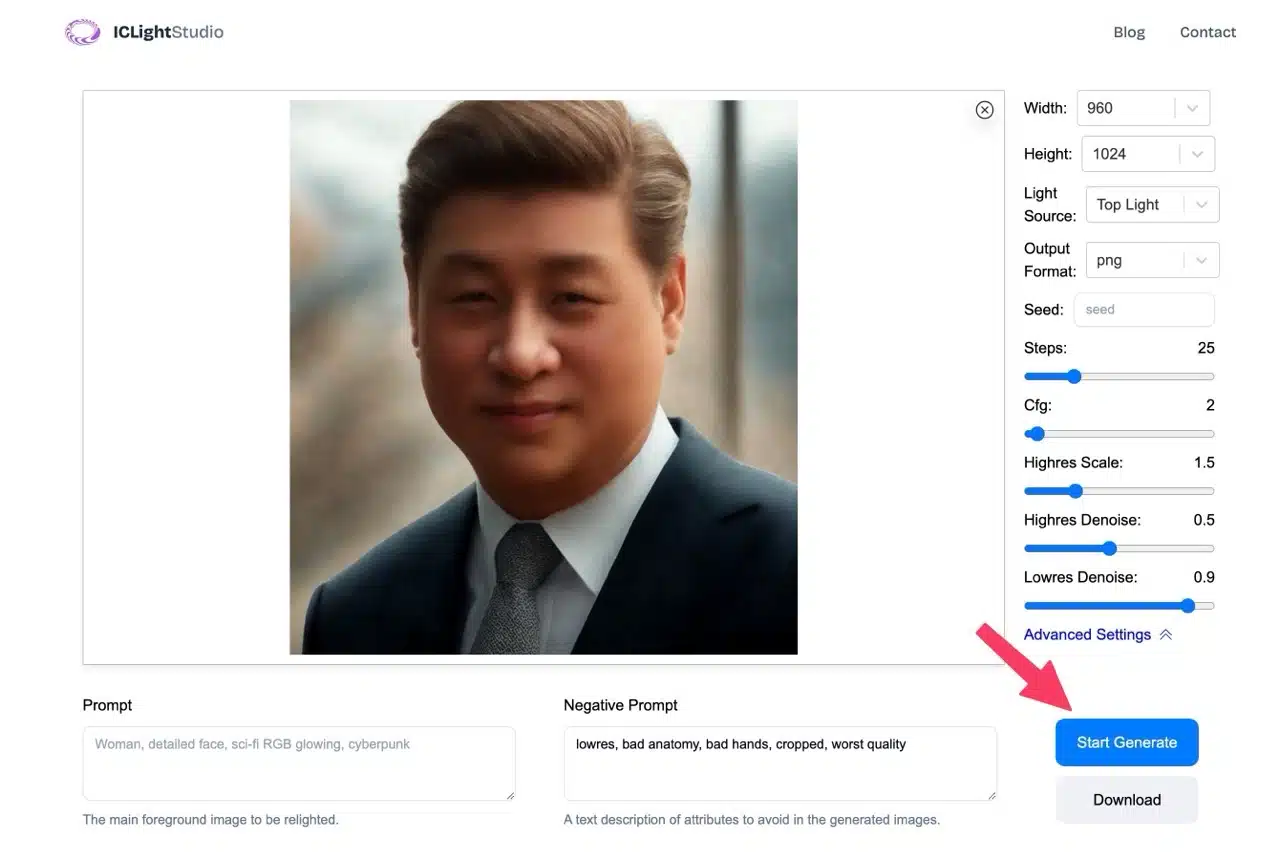
One of ICLight's most powerful features is its ability to automatically edit photos based on user prompts. Simply describe your desired adjustments in natural language using the “Prompt” field at the bottom left. For example, instruct the AI to convert the photo to black and white or adjust the light source to the top of the frame. The AI will then perform these edits automatically, saving you significant time.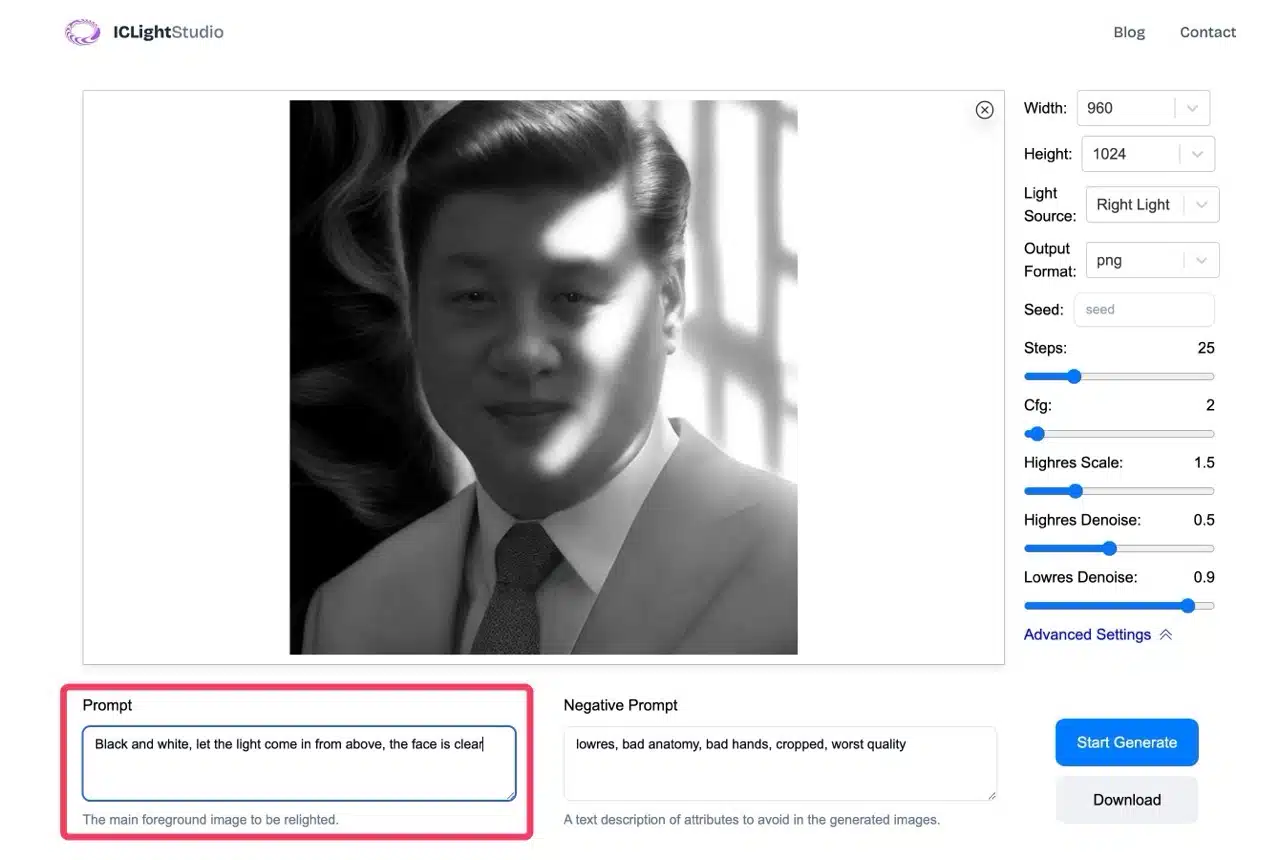
STEP 5
Finally, click “Download” in the bottom-right corner to save the edited photo in your preferred format.